Post-Renovation Inspection Checklist: Vents, Utility Lines and Basement Openings
Key Takeaways
- Check every new opening where plumbing, electrical, HVAC or cables pass through an exterior wall.
- Make sure vents remain unobstructed and properly sealed around the exterior assembly.
- Inspect basement windows, utility openings, exterior doors and foundation transitions after renovation work.
- Photograph questionable areas before they are covered or repaired.
- Don’t seal an opening if you suspect wildlife may still be inside.
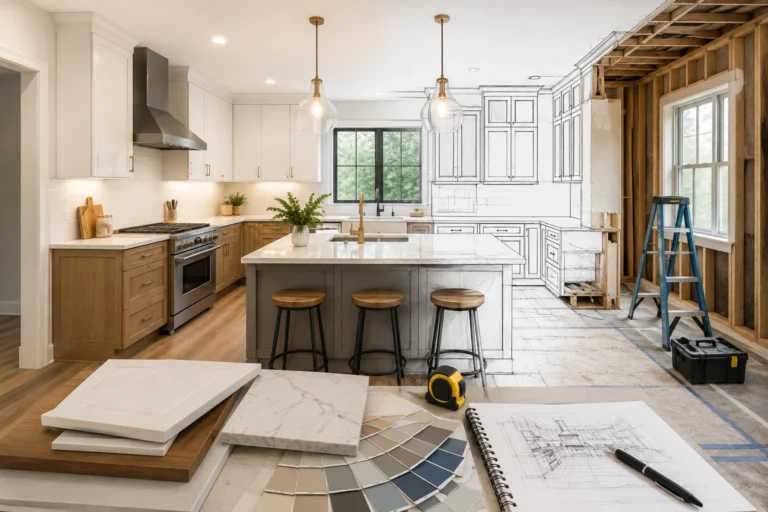
Renovations change more than the rooms we see. New ducts, cables, plumbing and doors create transitions between the house and the outdoors. Each transition deserves a final inspection for fit, water control and possible pest access. The most useful inspection is systematic: follow the work that was done, check its exterior counterpart, and document any gap before deciding how to repair it.
What to Check After a Home Renovation
Before you consider the project completely finished, take a few minutes to check the areas where new work meets the existing home.
Exterior Wall Penetrations
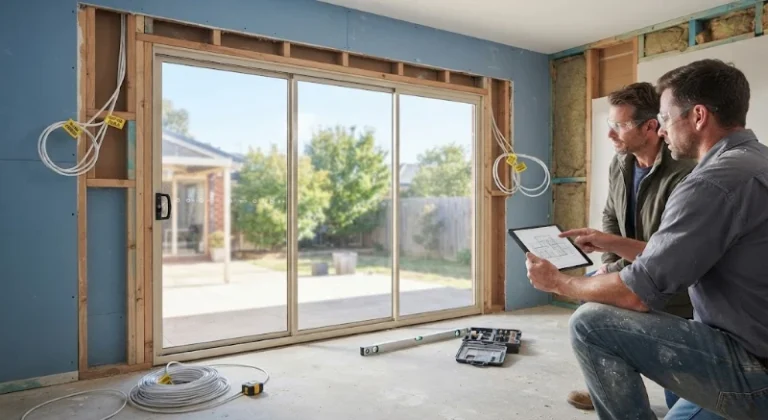
Check openings around cables, pipes, lighting and other services entering the exterior wall.
HVAC & Exhaust Vents
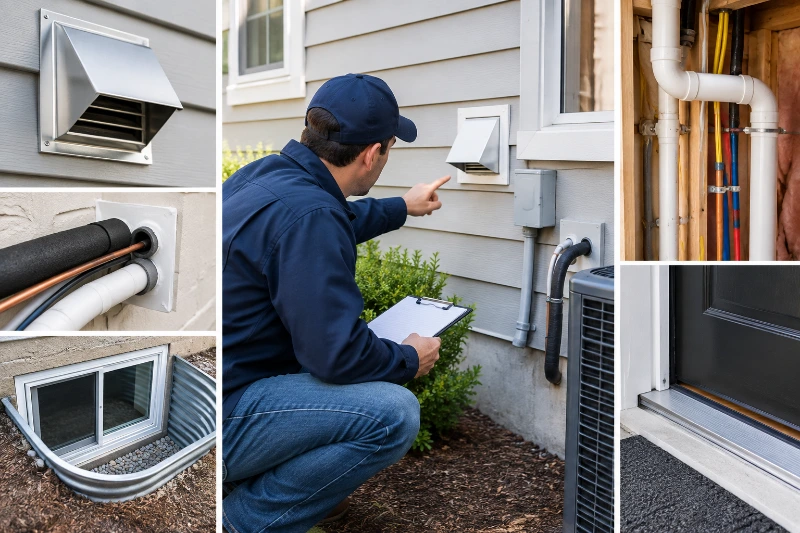
Make sure vents are secure, unobstructed and properly finished around their exterior assemblies.
Plumbing & Utility Lines
Look for gaps where water lines, refrigerant pipes, cables or other utilities pass through walls.
Basement & Crawl-Space Openings
Inspect foundation edges, rim joists, service holes, window wells and other hidden transitions.
Exterior Doors & Thresholds
Check weatherstripping, sweeps, thresholds and corners for visible gaps or poor contact.
Temporary Construction Openings
Confirm that temporary access points for cables, hoses, materials and services have been closed.
Why a Finished Renovation Still Needs an Exterior Check
A renovation can make a home look finished while leaving small openings where new materials meet old ones. A replacement door may have a tight new frame but an uneven threshold. A basement upgrade may conceal an old pipe opening behind a new wall. Exterior work can shift a vent cover or leave a gap where siding meets a utility line. These are ordinary details to inspect during final cleanup, especially before colder weather.
This checklist focuses on the boundary between conditioned rooms and the outdoors. Walk it once after the contractors leave, then revisit anything that changes with weather or settling. Keep a phone camera, flashlight and notes handy. Photograph each concern from a distance and close up so the appropriate trade can identify the location. Avoid pulling apart finished work simply to investigate a suspected opening.
1. Start With The Renovation Plan and Work Outward
List the places where workers made new penetrations: plumbing, electrical, cable, air conditioning, exterior lighting and ventilation. Check both the indoor and outdoor ends when accessible. A small opening behind a basement cabinet may correspond to a much larger unsealed space around a pipe on the exterior.
Look at the foundation line, window wells, siding transitions, soffits and the places where an addition joins the original building. Use daylight as a clue from inside a utility room or unfinished basement, but do not assume a dark-looking gap is sealed. Conversely, a visible opening may be a required ventilation or drainage feature. Identify its function before anyone covers it.
2. Inspect Vents Without Blocking Airflow
Check that new or reinstalled vent hoods sit flush against the wall and that their perimeter is finished appropriately. Look for loose fasteners, damaged edges or gaps beside the duct. Bathroom, kitchen and dryer exhausts each have different hardware and airflow requirements; the correct pest-resistant component depends on the vent and appliance.
Never pack mesh into a dryer outlet or add an improvised cover that catches lint or prevents its flap from opening. Health Canada recommends making sure your dryer vents to the outside and is not blocked, and checking the outside vent for lint buildup. If you are unsure what a pipe or vent does, ask the HVAC installer or a qualified contractor to specify a compliant repair. The aim is to seal the space around an approved assembly while preserving its intended airflow.
3. Follow Every Utility Line Through The Wall
Exterior cable, refrigerant and water lines often pass through holes larger than the lines themselves. Inspect the annular space around each penetration, including behind air conditioner equipment, at hose bibs and where services enter a basement wall. A bead of caulk on the visible face may hide an unfilled space deeper in the wall, so note any loose or incomplete finish and ask the installer what was used to close it.
Choose repair materials suitable for the wall, exposure and utility. Do not apply sealant directly to equipment that requires movement, drainage or service access. Electrical and gas penetrations deserve a qualified trade. For an accessible, non-service gap, a durable repair often combines a physical barrier with a weatherproof finish; soft foam alone is a poor substitute where rodents can reach it. Keep photos of the before and after repair for your renovation record.
4. Check Basement And Crawl-Space Edges
Basements contain many overlooked transitions: the sill area, rim joists, old service holes, foundation cracks and the lower corners of doors or bulkheads. Move stored renovation materials away from the wall so you can see these areas. Look for fresh debris, rub marks, damaged insulation, gnawing or droppings as well as the opening itself. An old hole that was hidden by construction dust can become obvious once the floor is swept.
Pay attention to new basement windows and window wells. The window should close properly, the frame perimeter should be intact, and drainage must remain functional. Do not fill a drainage opening merely because it looks like a pest route. Water problems should be corrected as part of the repair: damp materials and standing water create separate maintenance issues even where no pest is present.
5. Test Doors, Garage Edges and Temporary Openings
A renovated entry can leave light visible under a door when the floor height changes. Close each exterior door and inspect the threshold, sweep, weatherstripping and corners from inside. A brush or flexible sweep should contact the threshold without preventing the door from closing. Check garage side doors and any door between a garage and the house according to the door’s safety requirements; do not modify a required fire-rated assembly without the appropriate contractor.
Construction often needs temporary routes for hoses, cables and waste removal. Walk around the property after the final cleanup and confirm that no temporary opening remains. Check where a dumpster sat, where siding was removed and where workers passed services through a wall. An open garage door during daytime work is routine; an unsealed gap left behind when work ends is the concern.
6. Match The Repair To The Evidence
One small exterior gap does not prove an infestation, and closing the first hole you see may miss other entry points. Record what you found: location, approximate size, material around it, nearby signs of activity and whether the opening serves a mechanical purpose. Prioritize active damage, accessible openings into living or storage areas, and weather-exposed repairs before cosmetic finishing.
If you find droppings, nesting material or repeated activity, do not sweep or vacuum dry waste. Follow appropriate public-health cleanup guidance or ask a qualified professional to assess the area. If wildlife may be inside an attic or wall, avoid sealing an opening until the animal and any dependent young have been addressed. The repair sequence matters: identify the route, resolve any active animal issue, then close the route with the right material.
7. Recheck After The First Season
A final walk-through captures the house as it looks on one day. Temperature changes, precipitation and normal use can expose a door seal that no longer seats evenly or a vent cover that has loosened. Set a reminder to review the photographed locations after the first heavy rain and again when heating season begins. Ask the original contractor to revisit any incomplete work covered by the renovation agreement.
In Vaughan, a homeowner who finds ongoing rodent signs or several possible entry routes can ask a pest control professional serving Vaughan to inspect the pattern of activity. A useful inspection should explain where the evidence points, which repairs belong to a qualified trade, and how to confirm that the problem has stopped. The objective is a sound home envelope, functional ventilation and a clear record of what was fixed.
A Five-Minute Handover Checklist
Before signing off on a renovation, ask: Were all new wall and foundation penetrations finished? Are vent hoods secure and operating freely? Do doors meet their thresholds? Can you see the basement perimeter and window wells clearly? Were temporary work openings closed? Is there any sign of active pests that should be investigated before sealing? Write down uncertain items and assign each to the appropriate contractor. That short handover is easier than trying to reconstruct who installed a line months later.
Renovation work already gives homeowners a rare chance to see parts of the house that are usually hidden. Using that chance to inspect entry points makes the finished work more complete and helps prevent a small construction detail from becoming a recurring maintenance problem.
About the Contributor
This article was written by Rocky from Quality Affordable Pest Control in Ontario and is based on field observations and practical experience working with homeowners on renovation-related pest entry and exclusion issues.
Frequently Asked Questions
1. What should I inspect after a home renovation?
After a renovation, inspect new exterior wall penetrations, HVAC and exhaust vents, utility lines, basement and crawl-space openings, exterior doors, thresholds, and any temporary construction openings. Check where new work meets the existing structure for gaps, loose components, poor seals, or signs of damage.
2. How do you inspect a house after renovation?
Start with the renovation plan and identify where contractors added or changed plumbing, electrical, HVAC, cables, doors, windows, and other services. Then inspect both the interior and exterior sides of those areas where accessible. Photograph questionable areas and document anything that needs further investigation or repair.
3. What should I check before signing off on a renovation?
Before signing off, check that new wall and foundation penetrations are properly finished, vents are secure and unobstructed, exterior doors close and seal correctly, basement and window-well areas are accessible, and temporary construction openings have been closed. Record any unresolved items and assign them to the appropriate contractor.
4. How do I check for gaps after a renovation?
Inspect areas where pipes, cables, ducts, lighting, and other services pass through exterior walls or foundations. Look around basement walls, rim joists, window wells, siding transitions, doors, and utility penetrations. Photograph gaps rather than immediately sealing them, especially if you are unsure whether an opening has a mechanical, drainage, or ventilation purpose.
5. How do you inspect vents after renovation?
Check that new or reinstalled vent hoods are secure, sit properly against the wall, and remain unobstructed. Look for loose fasteners, damaged components, or gaps around the exterior assembly. Do not use an improvised cover or pack mesh into a dryer outlet because it can interfere with airflow and lint removal.
6. Should I seal every opening around pipes and utility lines?
No. First determine what the opening is for. Some openings may provide required ventilation, drainage, movement, or service access. Once the purpose is understood, use a repair method appropriate for the wall, exposure, and utility involved. Electrical and gas-related penetrations should be assessed by the appropriate qualified professional.
7. What should I check in a basement after renovation?
Inspect the sill area, rim joists, foundation edges, old service holes, foundation cracks, doors, bulkheads, basement windows, and window wells. Look for visible gaps, fresh debris, damaged insulation, rub marks, gnawing, droppings, moisture, or standing water. Make sure drainage features remain functional.
8. How do I know if a renovation left an opening for pests?
Look for accessible gaps around utility lines, pipes, cables, vents, doors, basement openings, and foundation transitions. Signs such as droppings, nesting material, gnawing, rub marks, or repeated activity can indicate that an opening needs further investigation. A single gap does not by itself prove an infestation.
9. Should I close an opening if I think an animal is inside?
No. If wildlife may still be inside an attic, wall, or other enclosed area, do not immediately seal the opening. The article recommends identifying the route and addressing the active animal issue before closing the opening. If you find signs of active wildlife, consider getting a qualified professional to assess the situation.
10. When should I recheck my home after a renovation?
A final inspection should not necessarily be the last check. Revisit photographed areas after the first heavy rain and again when heating season begins. Temperature changes, precipitation, normal use, and settling can reveal problems such as loose vent covers or door seals that no longer sit evenly.